Mailerlite
For our Mailerlite integration, You’ll need to provide us with your Mailerlite account name, and API key. You can find your Mailerlite account name in the top right of your Mailerlite dashboard.
To retrieve your API key, navigate to the integrations page and click ‘Use’ for API:
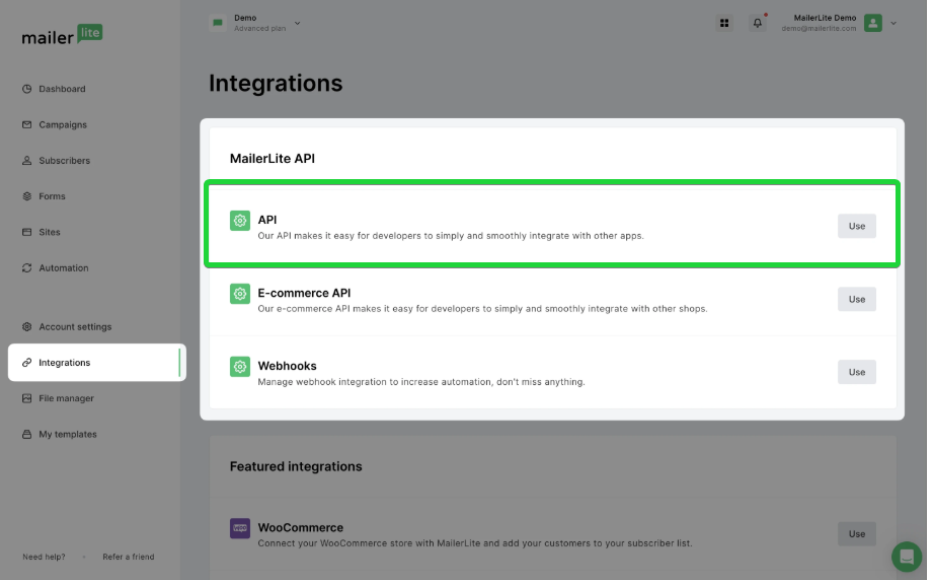
Then, if you haven’t already, click ‘Generate New Token’.
Once you have your API key, you’ll need to go to the Identity menu in your Ezoic dashboard. Click ‘Connect or upload your list’. Select Mailerlite from the Account integration options, the enter an your Mailerlite account name (this can just be your mailerlite username), and API key
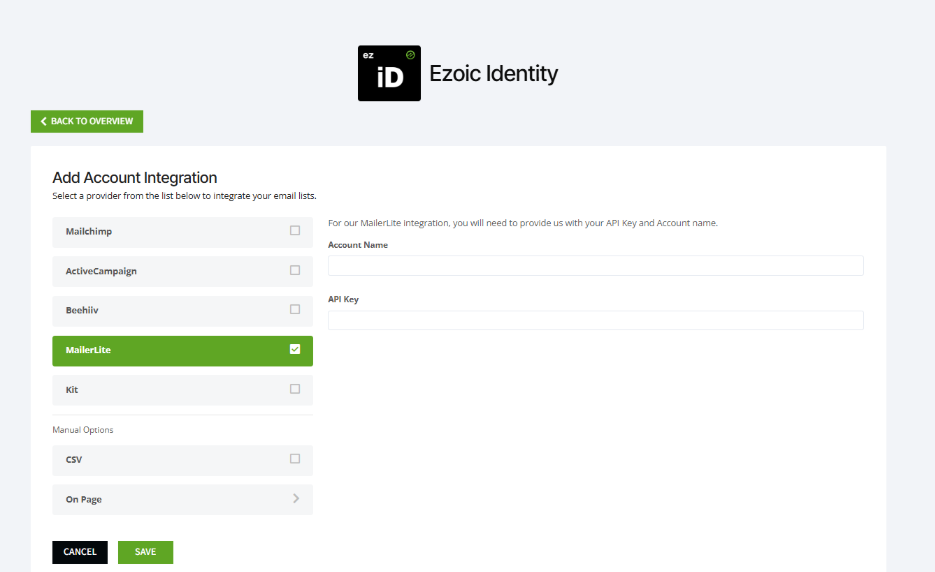
Click save, and we’ll complete the integration process.
Adding UTM Tagging to your links 🔗
Now that your subscriber list has been synced with Ezoic, we’ll create a new custom variable called ‘zid’ for each of your contacts. You’ll need to include these in your newsletter/email campaign links using whichever UTM parameter you prefer.
For example: If your current link goes to https://www.content-website.com/page, you would add the Mailerlite zid parameter into a UTM parameter, such as utm_content along with the text zid- prepended to the id. Done correctly, the url should look like this:
https://www.content-website.com/page?utm_content=zid-{$zid}
And that’s it! You’re all done and ready to start sending traffic that can be properly identified with rich first-party data, allowing advertisers to target your audience more effectively!